Buying Used Commercial Espresso Machines: 15-Point Inspection (2026)
On online restaurant auction platforms, Craigslist, and Facebook Marketplace, the temptation is undeniable.
A commercial 2-group La Marzocco Linea Classic or Nuova Simonelli Aurelia with a brand-new retail price of $18,500 is listed by a failed restaurant or liquidator for just $4,500.
The seller’s listing always reads the same: “Runs great! Pulled from working cafe last month! Just needs a good cleaning!”
To a budget-conscious coffee entrepreneur trying to open their dream cafe on a shoestring budget, this seems like an incredible stroke of luck—a way to save $14,000 in equipment capital that can be redirected toward marketing, inventory, or interior buildout.
However, professional commercial espresso technicians know the dark reality: a neglected used espresso machine is frequently a financial Trojan horse.
If that machine was run on untreated municipal water, stored in an unheated winter warehouse, or neglected by untrained staff, you are not buying an espresso machine—you are buying a scrap metal box filled with seized solenoid valves, ruptured copper heat exchangers, corroded heating elements, and brittle, fire-hazard wiring.
Restoring a neglected commercial machine can easily consume $3,000 to $5,000 in specialized technician bench labor and OEM parts, completely wiping out your perceived savings.
Before handing over cash for a pre-owned commercial espresso machine, you must inspect it like a seasoned field engineer.
This technical guide provides the official 15-Point Technician Pre-Purchase Inspection Checklist, calculates the true cost of professional refurbishment, and identifies non-negotiable walk-away red flags in 2026.
1. The True Cost of Refurbishment: The Hidden Math of “Cheap” Machines
Before evaluating a machine, compare the true financial total cost of ownership between buying new versus refurbishing used:
+--------------------------------------------------------------------------+
|                  THE REAL COST OF A PRE-OWNED ESPRESSO MACHINE           |
|                                                                          |
|   INITIAL ASKING PURCHASE PRICE:                                $4,800   |
|                                                                          |
|   TYPICAL REPLACEMENT PARTS REQUIRED:                                    |
|   - New Dual Immersion Heating Elements (Brew & Steam):           $380   |
|   - Complete Saturated Grouphead Rebuild Kit (x2):                $160   |
|   - New 3-Way Group Solenoid Valves (Parker/Lucifer x2):          $240   |
|   - New Procon Brass Rotary Vane Pump Head:                       $210   |
|   - Vacuum Breaker Valves & Safety Pop-Off Pressure Valves:        $95   |
|   - Anti-Suction Steam Wand Rebuild Kits & O-Rings:                $85   |
|   - High-Limit Safety Thermostats & Contactor Relay:              $180   |
|   - Silicone Group Gaskets & Precision Shower Screens:             $60   |
|   - High-Pressure Braided Water Lines & Drain Hose:                $75   |
|   --------------------------------------------------------------------   |
|   TOTAL OEM PARTS SUB-TOTAL:                                    $1,485   |
|                                                                          |
|   CERTIFIED FIELD TECHNICIAN BENCH LABOR:                                |
|   - Complete Teardown, Acid Soak, Ultrasonic De-Lime,                    |
|     Reassembly, Bench Pressure Testing (16 Hours @ $125/hr):    $2,000   |
|                                                                          |
|   TOTAL TRUE CAPITAL EXPENDITURE:                               $8,285   |
|                                                                          |
|   >>> SAVINGS: Real, but requires 3 weeks of shop downtime! <<<          |
+--------------------------------------------------------------------------+
If you can acquire a $18,000 machine for $4,800 and invest $3,485 in parts and labor, you emerge with a completely rebuilt, reliable commercial workhorse for $8,285—saving over $10,000.
However, if the boiler is cracked or the electronics are waterlogged, that $4,800 initial investment is completely lost.
2. The 15-Point Commercial Technician Pre-Purchase Inspection Checklist
Bring a basic technician field kit to your inspection: an LED flashlight, a set of metric hex keys, an automotive borescope camera (USB-connected to your phone), a digital multimeter, and an open-ended adjustable wrench.
+--------------------------------------------------------------------------+
|            THE 15-POINT PRE-PURCHASE TECHNICIAN FIELD CHECKLIST          |
|                                                                          |
|   [ ]  1. Borescope Boiler Scale Inspection (Vacuum Breaker Port)        |
|   [ ]  2. Freeze Damage & Ruptured Heat Exchanger Tubes                  |
|   [ ]  3. Electrical Wiring Harness & Scorched Terminal Blocks           |
|   [ ]  4. Contactor Relay & Solid-State Relay (SSR) Condition            |
|   [ ]  5. Rotary Vane Pump Head Weep Hole Inspection                     |
|   [ ]  6. Saturated Grouphead Weld & Collar Pitting                      |
|   [ ]  7. Solenoid Valve Coil Resistance (Digital Multimeter Test)       |
|   [ ]  8. Flow Meter Turbine & Optical Encoder Check                     |
|   [ ]  9. Liquid Level Sensing Probe & Autofill Control Box              |
|   [ ] 10. Steam Wand Ball-Joint Play & Anti-Suction Valve Operation      |
|   [ ] 11. Chassis Frame Corrosion Beneath Drip Basin                     |
|   [ ] 12. Serial Plate Verification (Voltage, Phase, Certifications)     |
|   [ ] 13. Hydrostatic Pressure Test (12-Bar Gauge Needle Movement)       |
|   [ ] 14. Volumetric Keypad Membrane Switch Integrity                   |
|   [ ] 15. Upstream Water Filtration History Audit                        |
+--------------------------------------------------------------------------+
3. Deep Dive into Critical Inspection Points
Point 1: Borescope Boiler Scale Inspection
- How to Test: Use an open-end wrench to unscrew the brass vacuum breaker valve from the top of the steam boiler. Insert your 5.5mm USB borescope camera into the interior chamber.
- What to Look For:
- Light dusting of white/cream powder: Completely normal. Easily resolved with routine preventive maintenance.
- Heavy, calcified rock formations (>1/8” thick) encasing the heating element: Severe risk. As detailed in our Boiler Descaling Protocol Guide, in-situ chemical descaling will trigger a scale avalanche. This boiler must be removed for a full bench acid bath.
Point 2: Freeze Damage (The Instant Deal-Killer)
- The Physics: Water expands by 9% when it freezes into ice, generating hydraulic pressures exceeding 25,000 PSI inside closed metal pipes.
- How to Test: Inspect the internal copper heat exchanger tubes running through the steam boiler. Look for bulging, spherical swelling, or hairline splits along the copper pipe. Inspect brass boiler end-plates for bowed metal or sheared perimeter bolts.
- The Verdict: IF A MACHINE HAS FREEZE DAMAGE, WALK AWAY IMMEDIATELY. Repairing split internal heat exchangers requires replacing the entire boiler assembly—a part costing $3,000 to $5,000 that makes the machine economically total loss.
+--------------------------------------------------------------------------+
|                  NORMAL TUBE VS. FREEZE-DAMAGED COPPER TUBE              |
|                                                                          |
|   NORMAL COPPER PIPE: Straight, uniform cylindrical walls                |
|   [==================================================================]   |
|                                                                          |
|   FREEZE-RUPTURED PIPE: Bulged, barrel-shaped swelling with hairline rip |
|   [===========\              SPLIT RUPTURE             /=============]   |
|                \__________________/\__________________/                  |
+--------------------------------------------------------------------------+
Point 3 & 4: Electrical Harness, Wiring & Contactor Relays
- How to Test: Remove the top cup warming tray and side panels. Shine your flashlight across the main electrical wiring loom.
- What to Look For:
- Signs of Thermal Damage: Wires with charred, brittle, discolored brown insulation near the heating element terminals. Melted clear plastic relay covers.
- DIY Electrical Hack Jobs: Wire nuts, household electrical tape, or mismatched non-high-temperature wire gauges.
- The Reality: Replacing a burnt wiring harness on a commercial 3-group machine takes 8 to 12 hours of specialized technician labor.
Point 5: Rotary Pump Weep Hole Inspection
- How to Test: Locate the Procon or Fluid-o-Tech rotary vane pump clamped to the main drive motor. Inspect the small notch (the weep hole) located between the motor face and the brass pump head.
- What to Look For: If you see green verdigris crust, white mineral deposits, or damp water stains dripping from this weep hole, the internal graphite mechanical shaft seal has failed. Water is actively spraying toward the electric motor bearings. The pump head must be replaced immediately ($250 part).
+--------------------------------------------------------------------------+
|                  ROTARY PUMP SHAFT WEEP HOLE INSPECTION                  |
|                                                                          |
|   [ELECTRIC DRIVE MOTOR]               [BRASS PROCON PUMP HEAD]          |
|   +---------------------+             +------------------------+         |
|   |                     |   V-Band    |                        |         |
|   |                     |== Clamp ===>|                        |         |
|   |                     |             |                        |         |
|   +---------------------+             +------------------------+         |
|                             ^                                            |
|                             |                                            |
|               [INSPECTION POINT: WEEP HOLE]                              |
|               - Clean & Dry: Shaft seal intact.                          |
|               - Green/White Mineral Crust: SEAL BLOWN. REPLACE PUMP!     |
+--------------------------------------------------------------------------+
Point 11: Chassis Frame Rust Under the Drip Tray
- How to Test: Pull out the stainless steel drip tray. Use your flashlight to inspect the black powder-coated steel frame beneath the basin.
- What to Look For: Liquid espresso waste contains organic acids that dissolve cheap paint. If previous owners allowed the drain box to overflow, the structural steel frame can be severely rusted, flaking, or structurally compromised. If the frame is rusted through where boiler mounting legs attach, the machine cannot safely hold 300 pounds of boiling water.
Point 12: Serial Plate & Electrical Certification
- How to Test: Locate the aluminum serial plate affixed to the chassis frame.
- Verify:
- Voltage: Must read 208V – 240V, 60Hz for North American commercial panels. If it reads 230V 50Hz, it is an unauthorized European grey-market import.
- Phase: Single-Phase (1-Phase) is standard for commercial cafes. If it is hardwired for 3-Phase, verify whether the terminal block can be field-bridged to 1-Phase.
- Sanitation Marks: Must display UL Commercial (or ETL Sanitation / NSF-4). In the United States and Canada, local health inspectors will red-tag and prohibit operation of any espresso machine lacking recognized commercial sanitation marks! Review our How to Open a Coffee Shop Guide for health inspection protocols.
4. The 5 Absolute Walk-Away Red Flags
If you encounter any of the following five conditions during inspection, do not attempt to negotiate a lower price—politely decline and walk away:
- Ruptured Boiler or Freeze-Split Copper Lines: The cost of sourcing an OEM replacement boiler for an out-of-production machine will exceed the cost of buying a working machine.
- Missing Recognized Sanitation Certification (No UL/ETL/NSF Marks): If the serial plate lacks certified commercial sanitation marks, your local municipal health inspector can legally forbid you from opening your doors.
- Proprietary Computer Board Obsolete & Unavailable: If an older digital machine has a fried mother-board and the manufacturer discontinued the part a decade ago, the machine is an unrepairable brick.
- Severe Frame Rust Through Structural Struts: A crumbling frame cannot support the weight of pressurized steam vessels.
- Untreated Hard Well Water History: If the machine was operated for three years on raw rural well water without water softening, the internal copper tubing will be completely petrified with calcium rock, requiring hundreds of hours of acid reaming.
5. Fair Market Valuation Formula for Used Espresso Machines
How much should you actually pay for a pre-owned commercial espresso machine? Use this realistic industry depreciation formula:
$$\text{Fair Market Value} = \text{MSRP (New)} \times (1 - \text{Annual Depreciation Rate})^{\text{Age (Years)}} - \text{Estimated Refurbishment Cost}$$
Standard Depreciation Guidelines:
- Year 1: Machine loses 30% of MSRP the moment it is uncrated and plumbed in.
- Years 2 to 5: Depreciates an additional 10% to 12% per year.
- Tier 1 Premium Brands (La Marzocco, Synesso, Slayer): Hold their value exceptionally well; plateau at roughly 45% to 55% of MSRP after five years if cosmetically clean.
- Tier 2 Commercial Brands (Nuova Simonelli, Rancilio, Astoria, Casadio): Plateau at roughly 25% to 35% of MSRP after five years due to higher volume availability on the market.
6. Summary: The Golden Rules of Buying Used Coffee Equipment
- Never Buy Without In-Person Inspection: Never wire money for a used espresso machine sight-unseen based on three low-resolution photos on an auction website.
- Budget $2,000 for Immediate Overhaul: Always reserve at least $1,500 to $2,500 in your working capital budget for professional technician bench servicing, new gaskets, and fresh pump heads before putting the machine into commercial service.
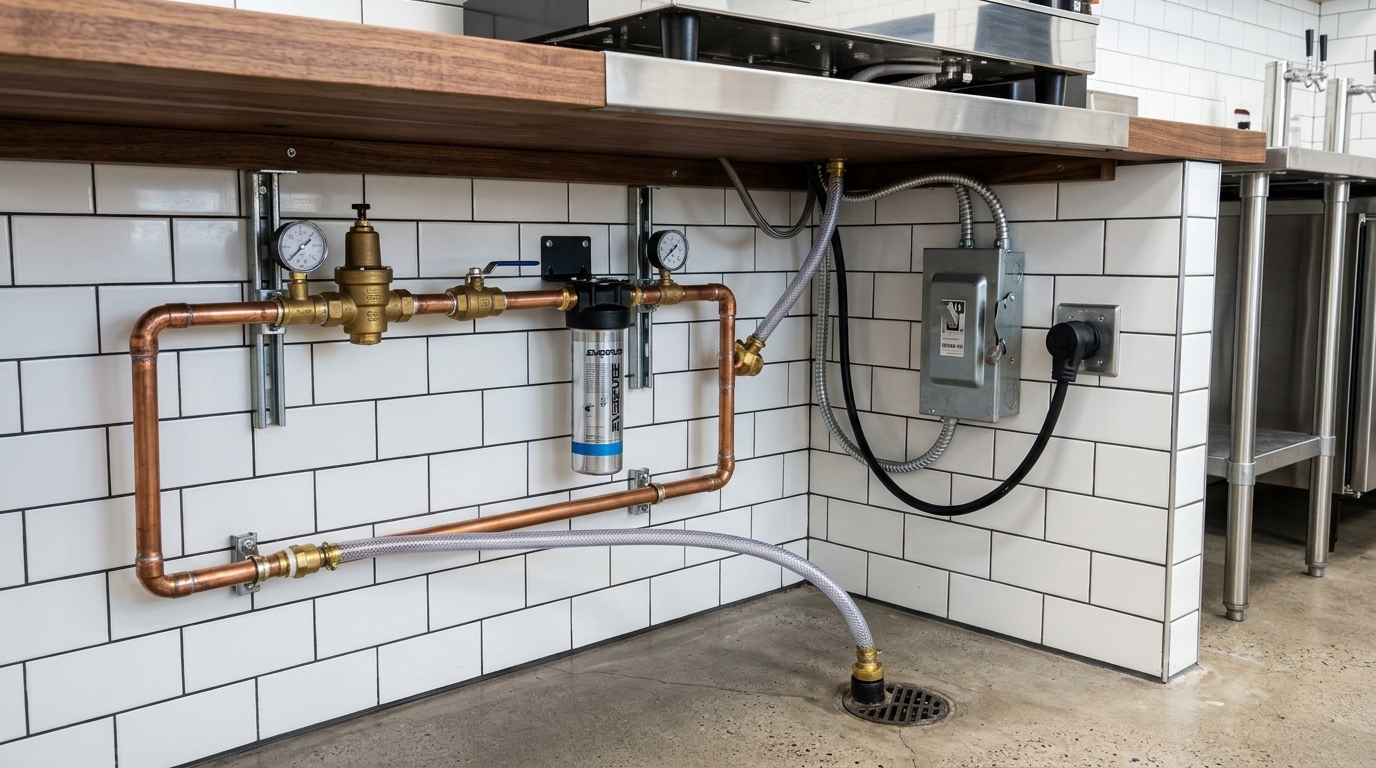
- Verify Water History First: The single greatest indicator of a used machine’s health is the water system that fed it. If the seller can show you a well-maintained commercial Reverse Osmosis or ion-exchange manifold on site, the machine’s internal boilers are likely in pristine condition.
Frequently Asked Technical Questions
Is buying a used commercial espresso machine a smart way to save money?
It can be, but only if the machine is evaluated with rigorous technical inspection. A used commercial espresso machine selling for $5,000 that requires a complete acid descaling teardown, new heating elements, wiring harness replacement, and pump rebuild will quickly rack up $3,500 in parts and labor, turning a bargain into an expensive, unreliable headache. Conversely, buying a lightly used 3-year-old machine with documented water filtration history can save $8,000 to $12,000 in startup capital.
What is the single most common fatal defect in used commercial espresso machines?
Freeze damage is the most catastrophic fatal defect. When a cafe closes or an auction company stores a machine in an unheated warehouse or shipping container during sub-freezing winter months without blowing out the water lines, trapped water freezes and expands by 9%. This ruptures internal copper heat exchanger tubes and splits brass boiler end-plates, turning the machine into scrap metal that cannot be economically repaired.
How can you check a boiler for severe limescale without completely disassembling it?
Bring an inexpensive digital USB automotive borescope camera (costing $30-$50) and a set of metric wrenches to the inspection. Depressurize the machine, unthread the top vacuum breaker valve or high-water level probe from the steam boiler, and feed the lighted camera probe directly into the boiler chamber. You can visually inspect heating elements and copper walls for calcium crusting in under three minutes.
Why must you check the electrical serial plate before buying a used espresso machine?
Commercial espresso machines are manufactured in multiple electrical configurations: 120V, 208V, 240V, and 380V European 3-phase. If you mistakenly purchase a 380V European machine or a 480V industrial unit, you will be unable to power it on standard North American commercial 208V-240V single-phase lines without spending thousands of dollars on industrial step-up transformers or entirely new heating elements.
What does green or white powder on copper boiler pipes indicate?
Green crust (copper carbonate / verdigris) or white chalky powder around copper pipe compression fittings, boiler flanges, or solenoid bodies indicates chronic, slow pressurized steam or water leaks. The leaking water evaporates upon hitting hot metal, leaving behind concentrated mineral deposits. If fittings are heavily oxidized, the copper threads may be seized or corroded, risking pipe shearing during removal.